VP Popup 08/18/20 Raised Salt Painting
Raised Salt Painting
Create a colorful masterpiece with this fun painting technique!
Tuesday, August 18
Today you will create a textured art piece using salt, glue, and watercolors. This is a fun and easy activity for all ages!
The Artful Parent website was used as the source for this activity: https://artfulparent.com/raised-salt-painting/
This activity is for all ages.
Supplies:
- Card stock paper, poster board, cardboard, or another type of thick paper
- Squeeze bottle of liquid school glue
- Salt
- Liquid watercolors (or you can make your own by watering down food coloring)
- Brushes or droppers
The Challenge:
Follow these easy steps to create your own raised salt painting!
- Decide what you want to create. Here are some suggestions if you're not sure:
- Your name
- An animal or nature scene
- An abstract painting
- "Draw" your design with the liquid glue by squeezing the bottle onto your paper. If you want, you can draw your design with a pencil first and go back over it with the glue.
- Cover the glue with salt; hold the paper up and tap away the excess salt. You can use a box or baking dish to contain the extra salt.
- Dip your paintbrush in the watercolor and touch the glue and salt sections of your design. The watercolor will quickly spread out over the area. Do this until your entire design is full of color!
- Once you're done painting, your art piece will need time to dry. Place your painting in a location where it can dry completely, which should take 1-2 days.
Extension:
- Create a raised salt painting story book! Illustrate your favorite story or come up with your own. Making a series of raised salt paintings and attach them together like a book with staples or string.

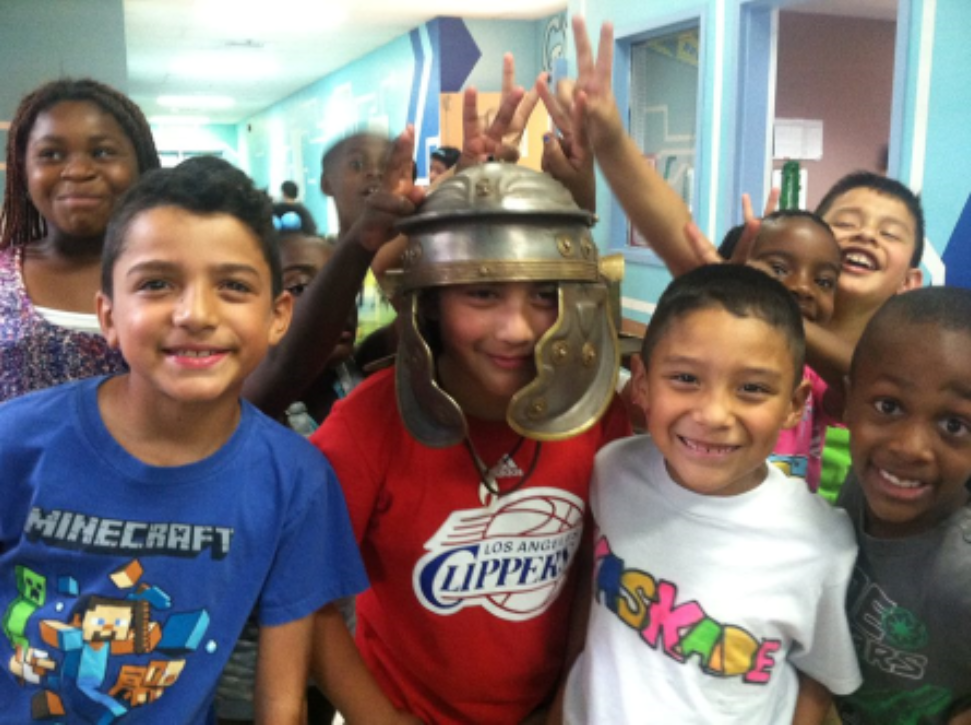
Members pose for a group photo in the Club.

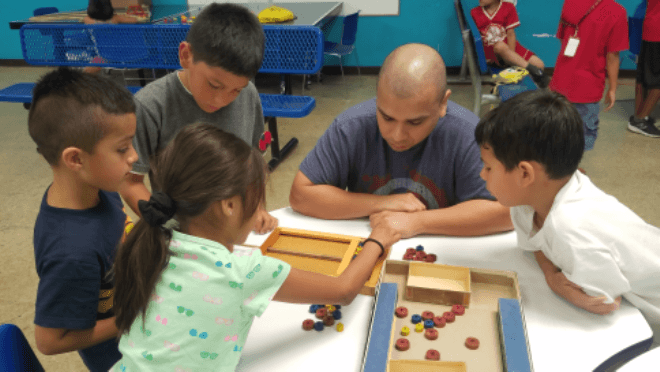
Members play strategy games with an adult volunteer mentor.

Teen members at the Mayor's Civic Youth Council.

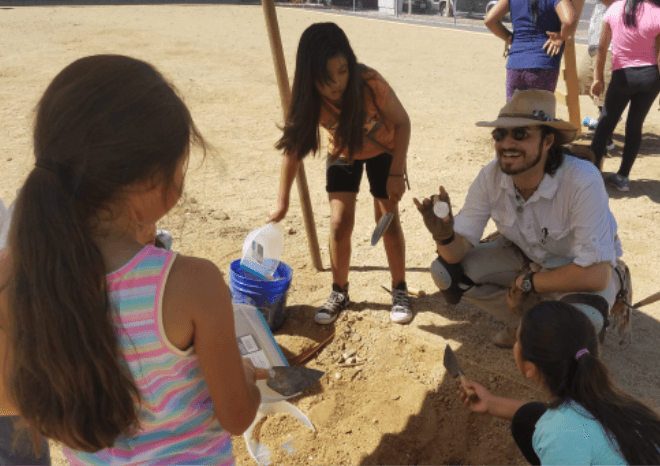
Members learn about archaeology by participating in a mock dig.
SIGN UP TO RECEIVE THE LATEST NEWS!
Thank you for joining our Newsletter!
Oops, there was an error sending your message.
Please try again later.
Please try again later.


